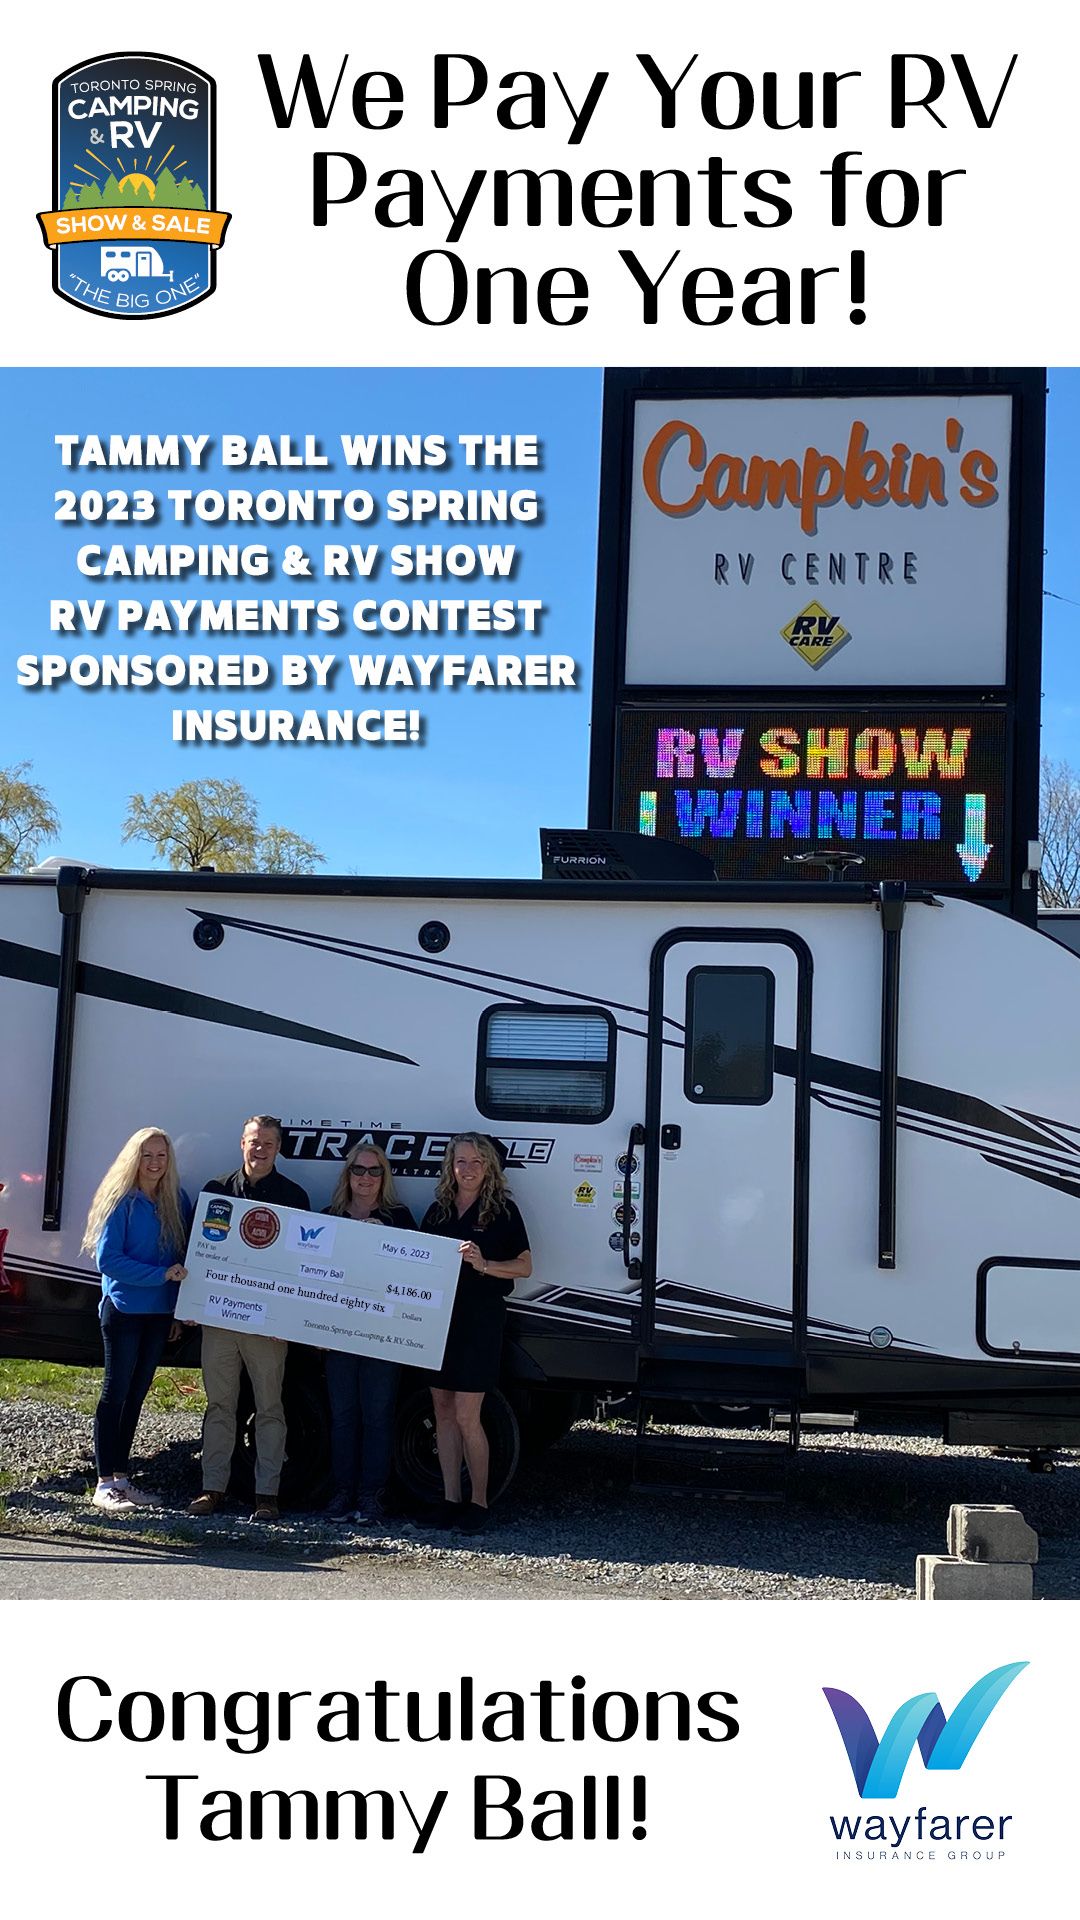
Special to The Toronto Spring Camping and RV Show-August 2023
In the wake of the COVID-19 pandemic, the world saw a seismic shift in how we perceive work, travel, and the intersection of both. Amidst lockdowns and a great deal of introspection, the allure of the open road became not just a dream but a viable lifestyle option for many. The RV trend was already gaining traction, but post-COVID, it accelerated at an astonishing pace. As highlighted in the 2023 Toronto Spring Camping and RV Show, the number of remote workers embracing the RV life has surged.
Let’s delve into why:
1. The Allure of the Open Road
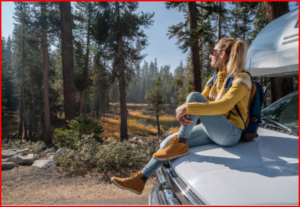
RVs have long represented the epitome of freedom. They symbolize the romantic ideal of cruising through vast landscapes, visiting picturesque locales, and waking up to new horizons every day. Now, combine this with the ability to maintain a stable income and you have a truly enviable lifestyle.
2.Embracing Remote Work
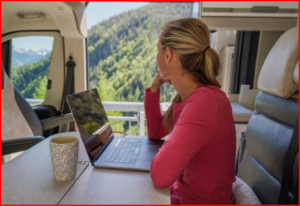
With the pandemic forcing companies to adapt to remote work, many businesses found that employees could maintain or even increase productivity from home. This shift in paradigm opened the door for many to consider alternative workspaces – like an RV.
3. A Safer Way to Travel
In a world where travel restrictions and safety concerns were paramount, RVs presented a controlled environment for families and individuals. The ability to maintain social distancing norms while exploring new locales made RVing an attractive choice2.
4.Technology: The Enabler
The technological boom of the last decade is the real MVP behind this trend. High-speed mobile internet, cloud computing, collaboration tools, and digital communication platforms have made it possible to work from virtually anywhere. As long as you have a good internet connection, you’re good to go!
5. Mental Health and Wellbeing
The mental toll of prolonged lockdowns was considerable. For many, the RV lifestyle provided an escape, a way to change surroundings while adhering to safety protocols, thus contributing positively to mental well-being.
6. Diverse Community
Head to any RV park, and you’ll find an eclectic mix of remote workers, freelancers, entrepreneurs, and more. This community is supportive, diverse, and offers numerous networking opportunities. After all, your neighbor might just be your next big client or business partner!
7. Redefining Work-Life Balance
The blending of work and leisure, made possible by remote work policies adopted during the pandemic, found its zenith in the RV lifestyle. People could clock out and immediately immerse themselves in nature or a new cityscape.
7. Challenges Amid Opportunities
However, the boom also came with challenges. The sudden influx of RV travelers meant that many popular destinations were crowded, leading to issues related to sustainability and over-tourism. Furthermore, while remote work was widely accepted, not all jobs transitioned smoothly to the RV environment.
Reliable internet connectivity, power sources, and creating a conducive work environment within the limited RV space are some issues remote workers face. However, with the array of products and services showcased at events like the Toronto Spring Camping and RV Show, solutions are more accessible than ever.
In Conclusion:
The post-COVID world brought challenges and paradigm shifts in equal measure. For many, it also brought the freedom to redefine what a work-life could look like. The RV revolution isn’t just a trend—it’s a testament to human adaptability and the ever-evolving definitions of work and leisure.
Toronto Spring Camping and RV Show – February 29th-March 3rd, 2024